Pre-Requisites
There are no pre-requisites in order for you to be able to implement this solution.
How To Implement This Solution?
Simply copy the pre-coded solution to your active theme’s functions.php or preferably the Code Snippets Plugin.
Need support with the snippet? We’re Here to Help You, Contact Us!
About This Solution
If you’d like to bypass the on-hold order status which either WooCommerce or the payment gateway the customer uses automatically sets on orders, and make it the Completed order status instead, then this guide is for you. Typically, store owners wont have the Order on-hold email active. Instead, they will have the Processing order or Completed order. It’s not usual that customers receive an email to tell them their order is on hold, so this solution resolves that. This solution also reduces admin overhead because your staff wont have to login and update each order with the Completed order status – it’s done automatically when the thank you page is triggered.
Snippet Benefits
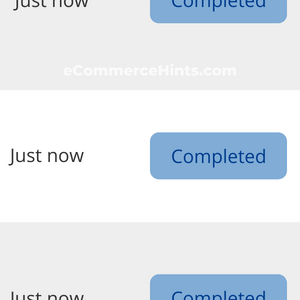
- Trigger the Order Completed email in WooCommerce by automatically updating the Order Status from On-hold to Completed when an order is created by the customer.
- Reduces staff overhead having to manually edit the order status of new orders.
- Receive finds quicker from payment gateways as the order is automatically set to complete.


Our Snippets Featured On


Let’s collaborate!
Need to outsource WordPress development?
Join forces with UnlimitedWP for an outsourced white label web development service you can truly rely on.